Tip #1 Make sure you use a flat, grease free, clean griddle; a well seasoned cast iron is best; an unscratched up teflon coated one is next best, but avoid any pan just plain aluminum, stainless steel or copper.
Tip #2 Oil or shortening is better than non-stick sprays and don't use too much, you'll see what I mean if it starts to collect in pools around the edges of the pan, but be sure the entire bottom of the pan is coated.
Tip #3 I use a large, at least 4-6 cup, glass measuring bowl to mix my batter in. This should have a handle and a spout (see photo below) and will make your pouring experience much nicer. Don't forget to use the proper measuring cups, (refer to my January 29, 2012 post "My 10 Tip's to make the Best Chocolate Chip Cookies Ever", for this information.).

Tip #4 After stirring, not whipping, your batter til it's smooth (Sorry, my OCD says don't leave lumps), allow the batter to sit at room temperature for a few minutes. It will thicken slightly and not be runny when poured out.
Tip #5 Allow the griddle to become hot enough that a bead of water sprinkled on the surface will put on a little dance for you. (Free entertainment for an otherwise boring food prep period.)
Tip #6 After pouring just enough batter onto the very hot griddle to make a nice sized and hopefully nearly perfect round cake, stand by eagerly with large flat spatula in hand and watch while bubbles appear and begin to pop on the surface of the cake. When the bubbles have started popping over a fair amount of the cake, (see photo below), use the edge of your spatula to check the bottom of the cake by gently sliding it under an edge and lifting just enough to see if browning has occured. If the bottom looks brown enough for your liking, slip the spatula all around the entire edge util the cake is loose and can be flipped. (You're on your own at this point. I had to practice the flip part several times and went through a lot of damaged cakes before I got it down.)

Tip #7 The guessing game of how long it will take the other side to get done has now begun. Just be patient, but no too patient since you've already cooked the cake over halfway through, (or maybe even burned it if you were multi-tasking a blog). Just carefully check the cake with your spatula once more and you will again know how brown you want it.

Tip #8 I love to throw a pat of real butter on a stack of steaming hot cakes just before serving. If you can't have real butter, I'm sorry, but you can also use a pretty little dab of any type of spread your diet allows.

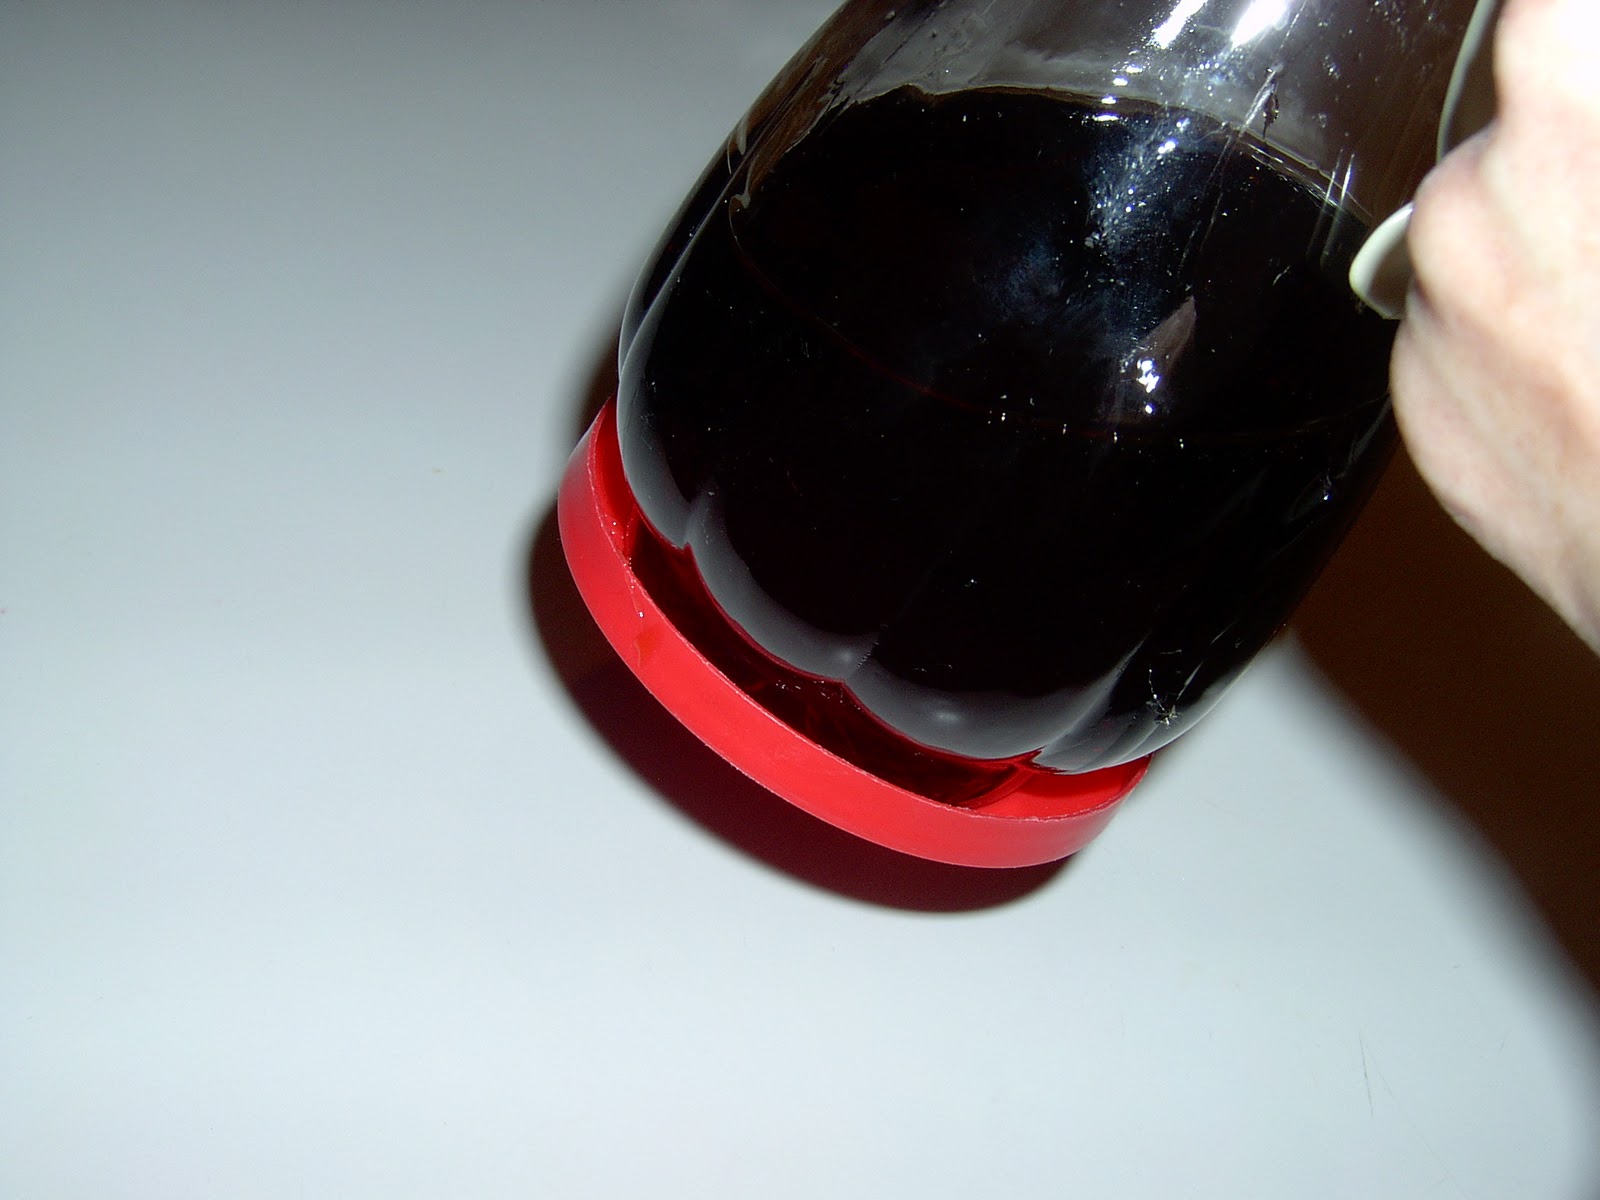
Tip #9 A great way to keep your syrup handy and warm it up without dealing with a sticky mess is to place it in a wonderful decanter (see photos below) like I have and use the lid from a frosting tub, (oh come on, we all have them even if most of our frosting is home-made), to catch the drips that always seem to slide down the side. This can go from refrigerator to microwave to table and back to refrigerator. Cleaning off the syrup drips that eventually will pool up in the lid is as easy as running both the lid and the bottom of the decanter under hot water in your sink.


Doesn't this look delicious?

Tip #10 Always make extra cakes that you can keep warm in the oven on a cookie sheet lined with wax paper; warm setting or at about 175 degrees. You never know who might show up begging for one!

No comments:
Post a Comment